Configuring 802.1x Authorisation Profiles
If you've been following my posts on 802.1x, you may have noticed that I have been skipping over the authorisation profile stuff a bit and just configuring the policies with a very generic permit access. So I decided that that's what this post will touch on. There is a lot you can do with Cisco ISE in regards to authorisation profiles so I will only be covering some of the basics.
An authorisation profile allows you to configure a number of different attributes that can then be applied to a user or device after they have authenticated such as the use of dACLs or configuring VLANs on switch ports for specific users in groups etc or even specific levels of admin rights when logging into devices.
There are a number of radius fields and attributed you can configure in ISE to serve various purposes and you can even create custom attributes of your own to apply. For example you can configure ISE to provide IP addresses to clients who connect to a VPN or provide specific responses for access upon authentication.
For this post, I will be using an authorisation profile to assign a specific VLAN, dACL, and also an EAP-TLS reauthentication timer to a specific user. The user will be assigned the VLAN Data which in my home Lab is just VLAN 10, and will have a dACL applied that will deny icmp traffic, but permit everything else. The profile will also set a server reauthentication timer of 1 hour. This reauthentication timer is then configured on the switch using the command authentication timer reauthenticate server. This tells the switch that an 802.1x re-authentication needs to occur every x number of minutes.
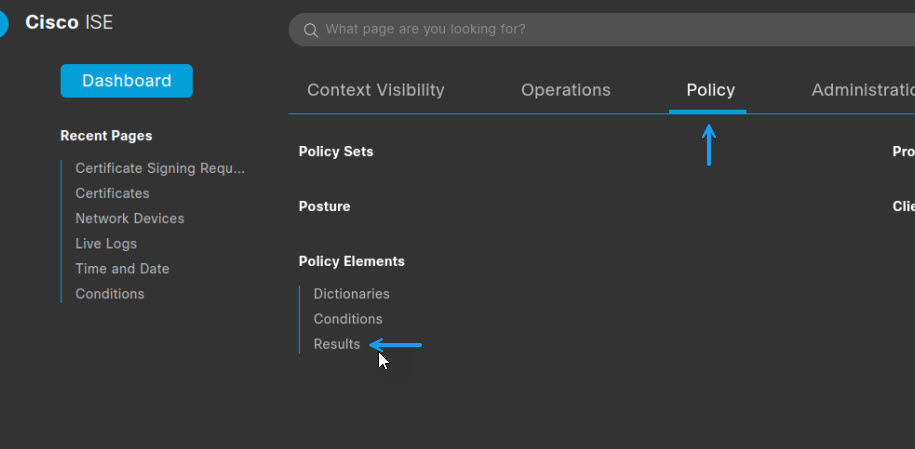
As I've already run through how to create dACL's in this post here, I won't go through that again in this post. So let's start by creating the authorisation profile itself. To do that navigate to Policy -> Policy Elements -> Results
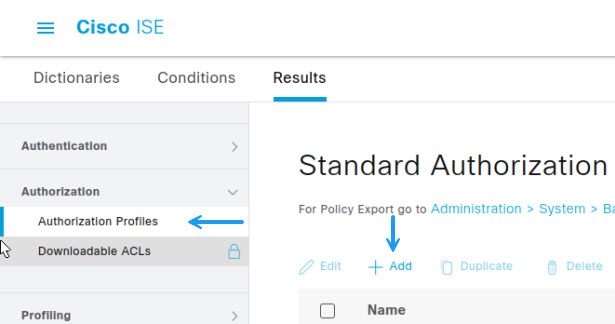
On the Results page, click on Authorization -> Authorization Profiles and click +Add to create a new profile.
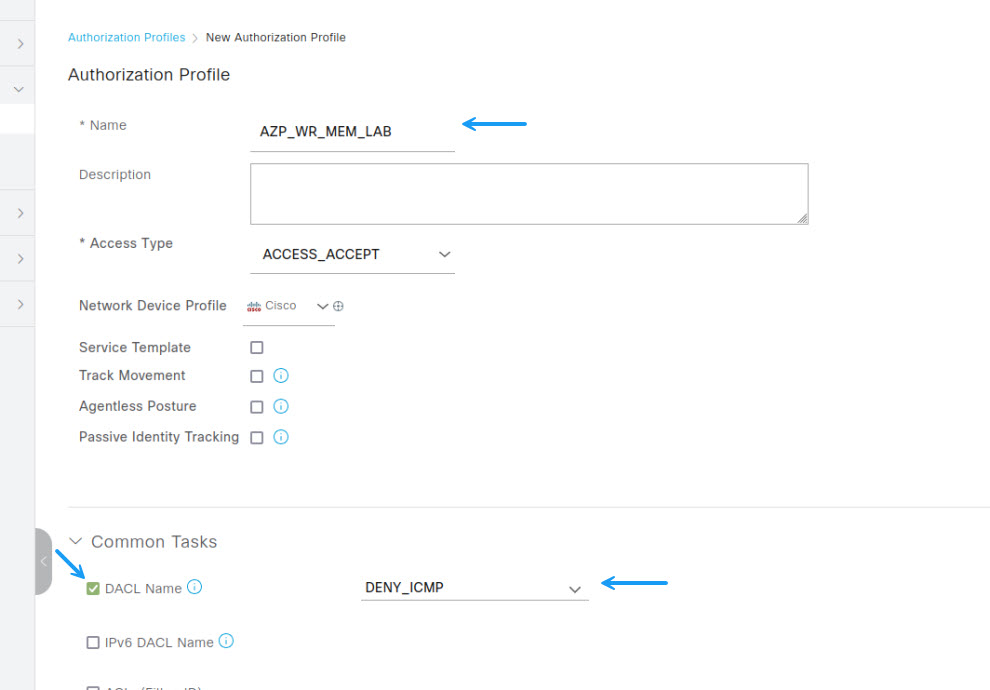
Give the profile a name and configure the access type, then under common tasks, select DACL Name and assign the DACL that you have created for this profile. I had already created a DACL to deny ICMP so I will use that.
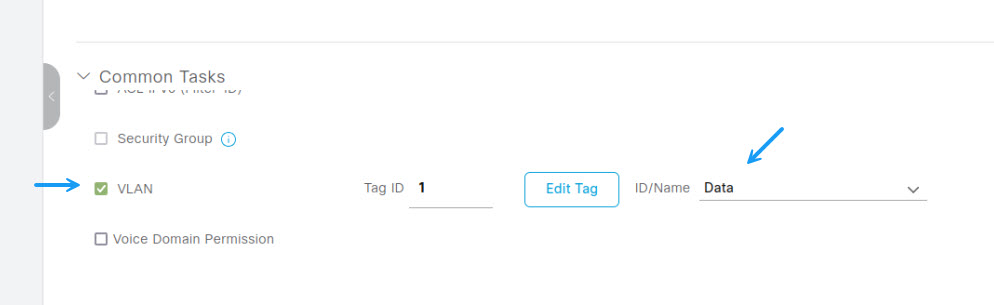
Next, to configure the VLAN to assign to a port, scroll down until you see the VLAN option and tick the box. Then configure either the VLAN ID or the VLAN Name in the ID/Name filed. If you configure the VLAN name, then you must ensure that on all switches in your environment, the VLAN name matches exactly what you enter into ISE.
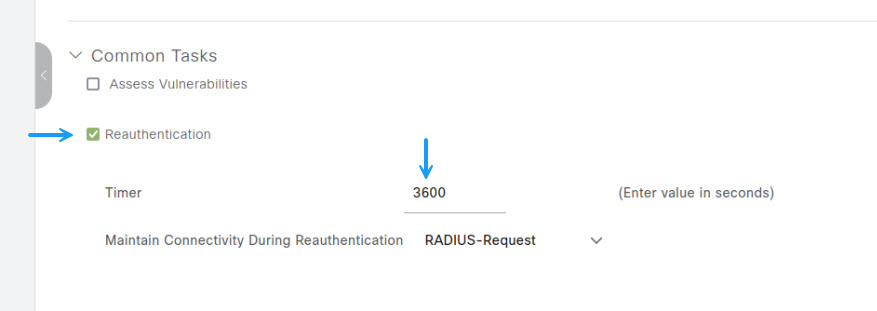
Now for the last part of this authorisation profile, scroll down until you see Reauthentication. Tick the box and set timer value in seconds. I've chosen a timer of 1 hour.
That's it for the settings to configure for this Authorisation profile. If you look through the list there are so many things that you can do with these profiles. Once you're done, scroll to bottom of the page, and verify under Attributes Details the settings are correct. Once you have configured everything looks correct, click Submit.

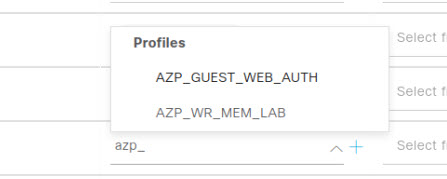
You can now apply that profile to a policy under the authorisation settings section. Navigate to policies and select the policy you want to edit and add authorisation profile to. Expand the authorisation section, and then under the Authorisation Profile column, click the drop down and select your new Authorisation profile.
That's it for how to create a basic authorisation profile in Cisco ISE. If you've noticed anything missing or have any issues with this post, please leave a comment and let me know.
Add new comment