Time Based Conditions with Cisco ISE
To continue on with my theme of late, I'm going to go through time based conditions and how to apply them in ISE for your 802.1x authentication and authorisation.
I decided to do this as I had originally attempted to use ISE to deploy a dACL that contained a time-range command as I wanted to permit and deny access depending on what time of day what day of the week it was. While the dACL seemed to work in that it was downloaded correctly and the sh ip access-list command displayed the ACL with the time-range command applied, it just wouldn't actually apply the time range and would just block all traffic all the time. Now this could have been an IOS bug or something but I had to come up with another way to do it and that's where time range conditions came in.
The way this works is you configure a time condition for specific times of day or days of the week etc and then in your policy, you match on that condition. There's a few other moving pieces involved in this but essentially that's how it works. For time based policies or anything time based for that matter, its important to have an accurate and reliable time source for your ISE node. I've configured my ISE node to point to my Internet router for NTP which uses a Stratum 2 upstream server.
In this scenario I will demonstrate how to block certain traffic from a user during specific times of the day and days of the week. What this policy will do is deny icmp traffic between 10am and 2pm every Monday, Wednesday and Friday, but only if the username matches wr-mem1. Outside of that all traffic will be permitted.
To get started, let's first configure the time condition. To do that navigate to Policy -> Policy Elements -> Conditions.
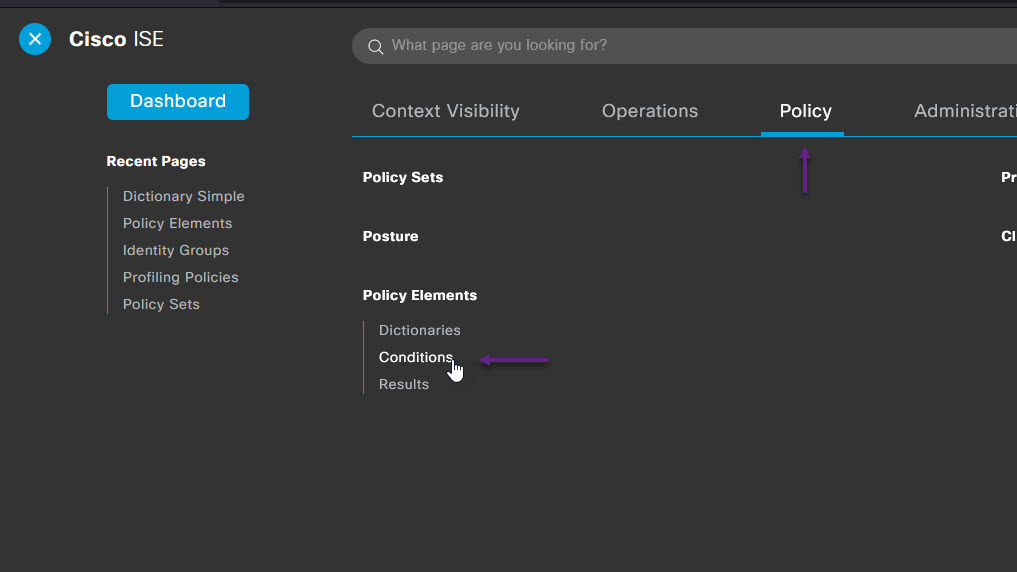
Select Time and Date from the menu on the left and click +Add.

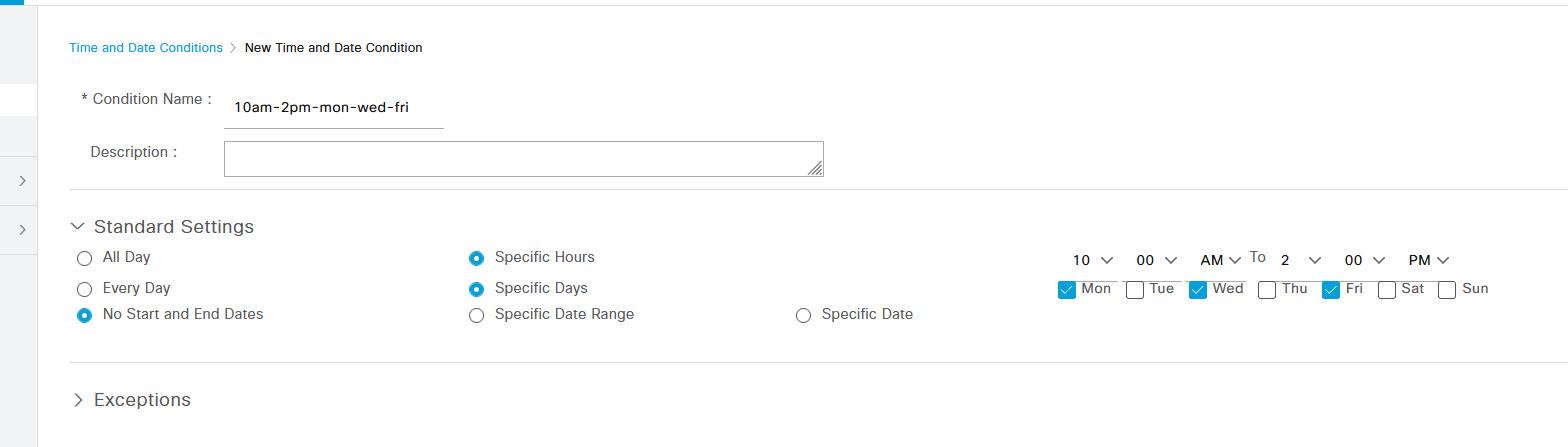
Configure the time range conditions that you want to allow. As I mentioned earlier, I'm setting a time condition for between 10am and 2pm every Monday, Wednesday and Friday. Once done, click Submit.
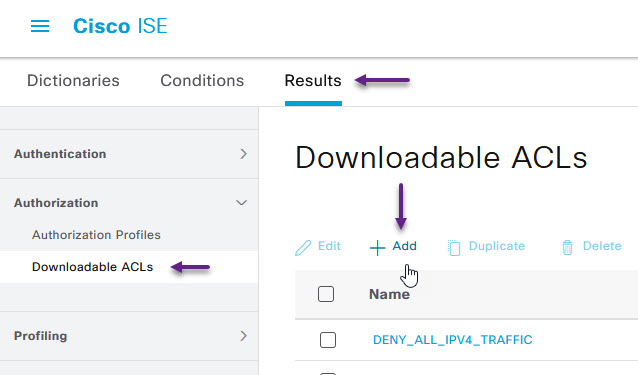
With the time condition configured, the next step is to configure the dACL that will be applied during this time. Navigate to Results -> Authorization -> Downloadable ACLs. On the Downloadable ACL's page, click +Add.
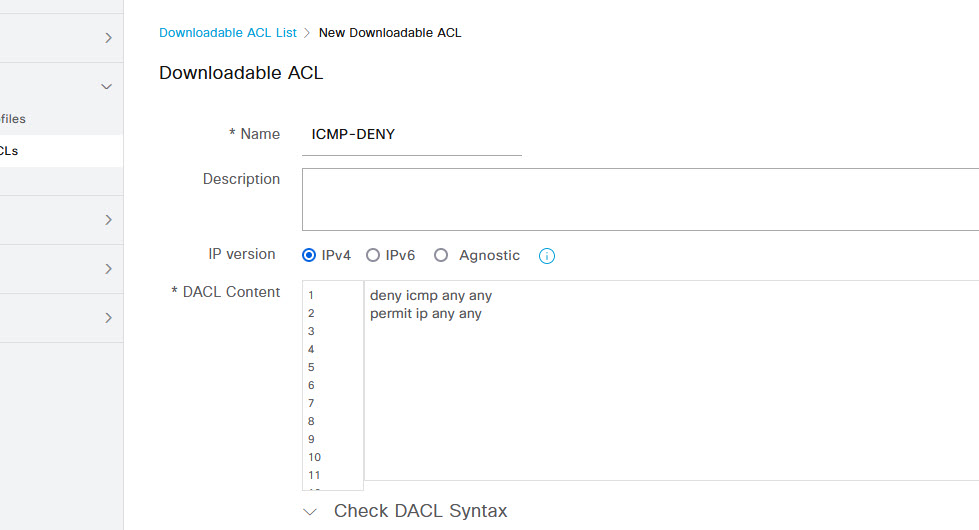
On the Downloadable ACL page, give the ACL a name and then configure your ACL. In this example, i've configured it to deny icmp traffic and then allow all other traffic but you can configure any ACL you need. Once done, click Submit.
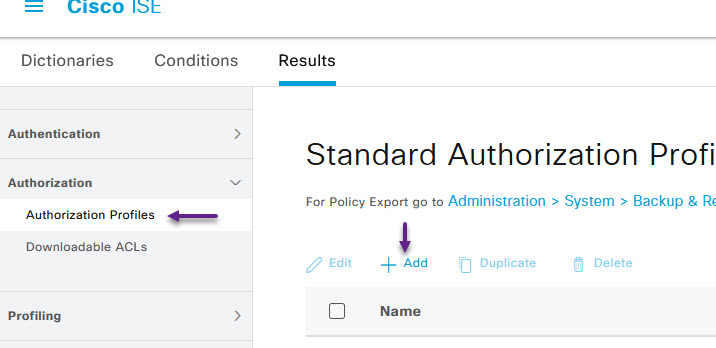
Now that you have the conditions and dACL configured, you will need to configure the authorisation profile. Navigate to Authorization Profiles from the menu on the left, and click +Add.
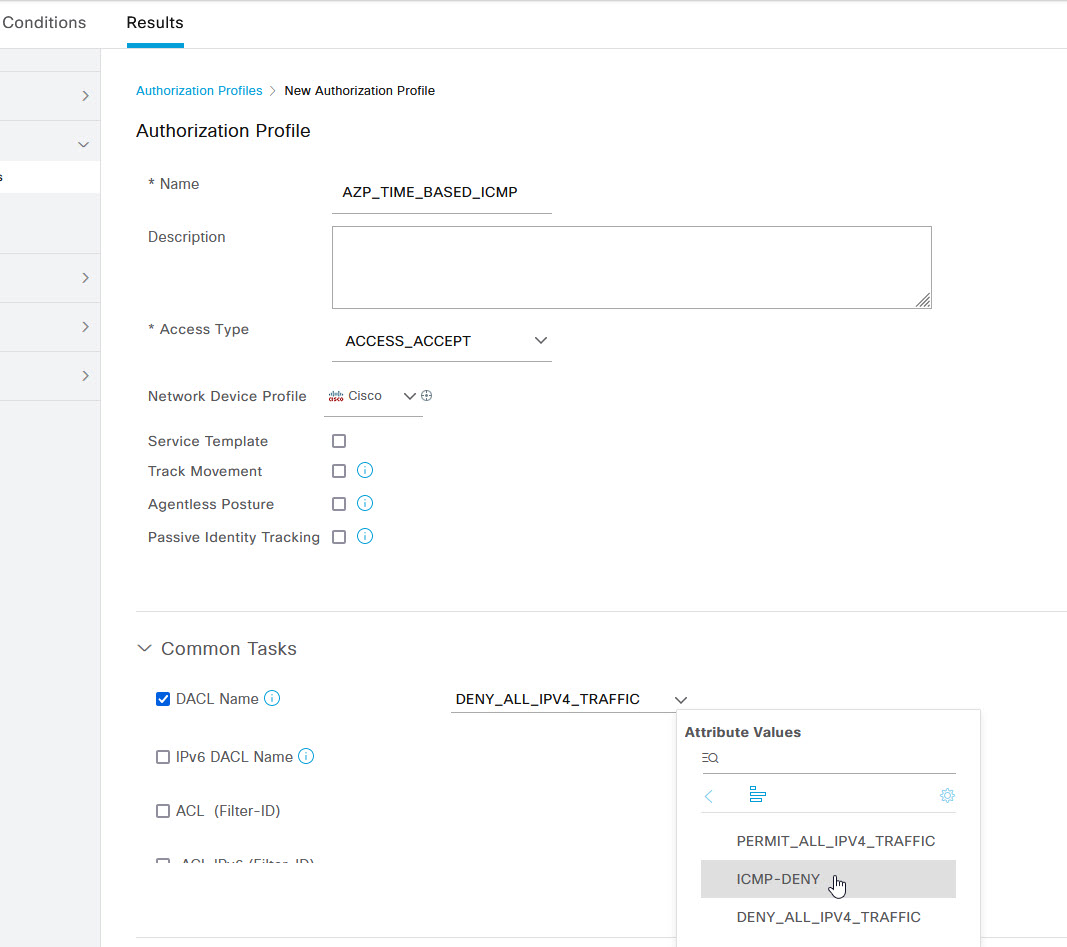
On the Authorization Profile page give the profile a name and fill in any other details. Within the Common Tasks section, select the DACL Name tick box and apply the dACL that you created in the previous steps. You can also apply any VLAN or other attributes here. Once you've configured the desired settings, click on Submit.
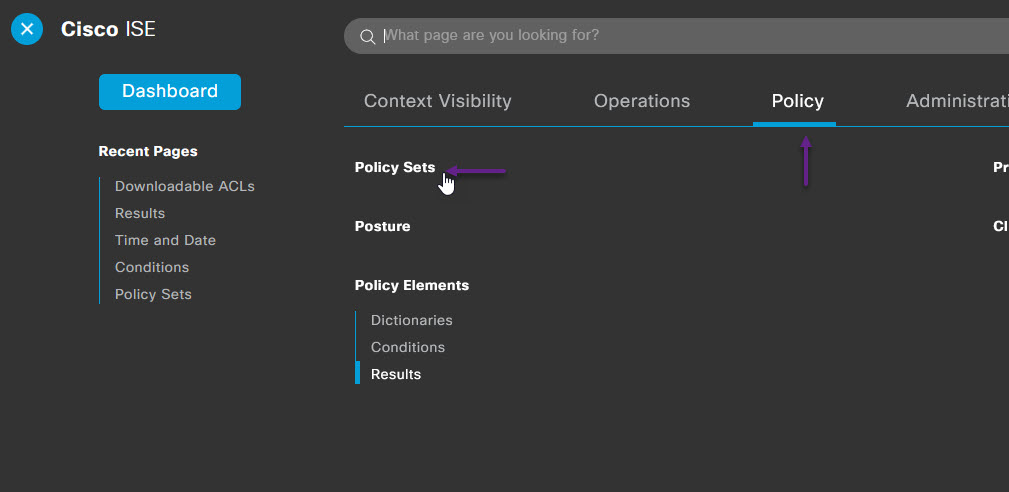
The last thing to do is configure the policy settings to use the new conditions and authorisation profile. To do that, navigate to Policy -> Policy Sets
Select the Wired 802.1x policy that you have created and click on the > button to modify the settings.

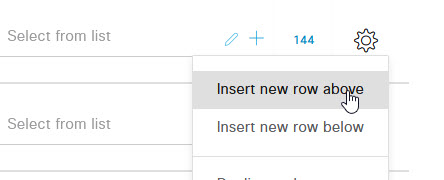
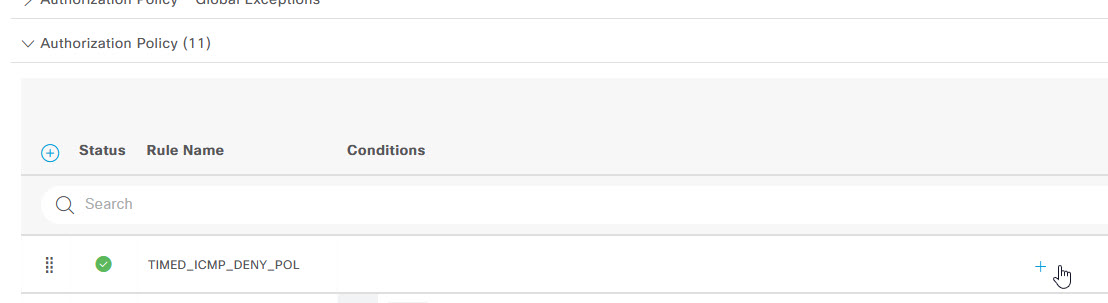
On the Policy page, expand the Authorization Policy section. Select the Cog on the right of an existing policy and click on Insert new row above or below. Remember that authorisation profiles are applied in order so make sure you add this new profile in the correct order.
Give the new policy a name, and click on the + to add a condition.
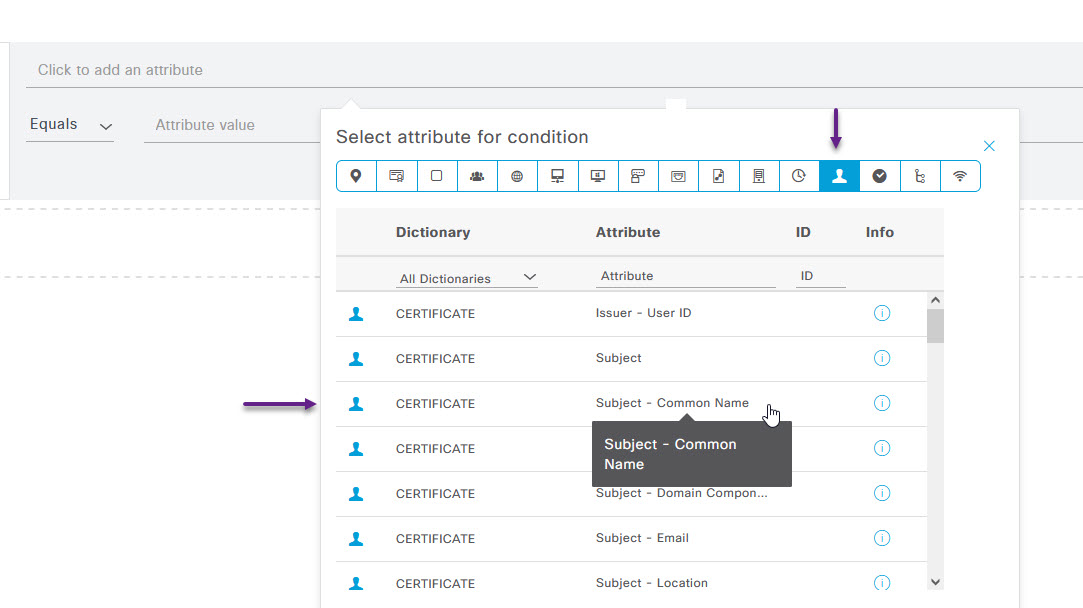
As I will only be applying this policy to a specific user, wr-mem1, on the conditions studio page, I'm going to select a Certificate option of Subject - Common Name. To do this, select the Subject button (The one that looks like a person) and then select the option CERTIFICATE: Subject - Common Name.
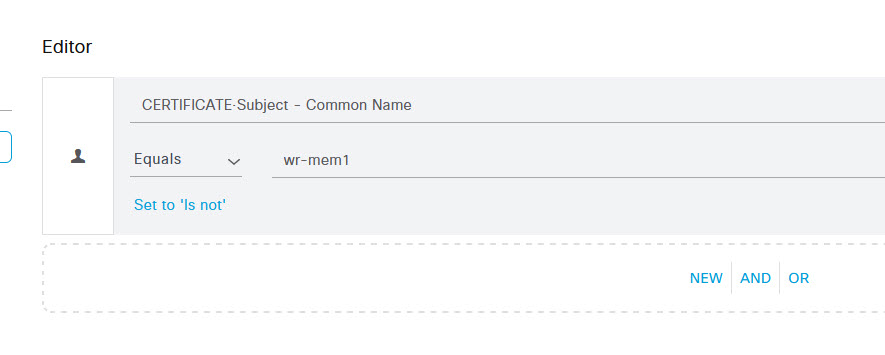
Now, under the Attribute value field, I've entered the username that I want to apply this to. Once you've done that, scroll down and click Use.
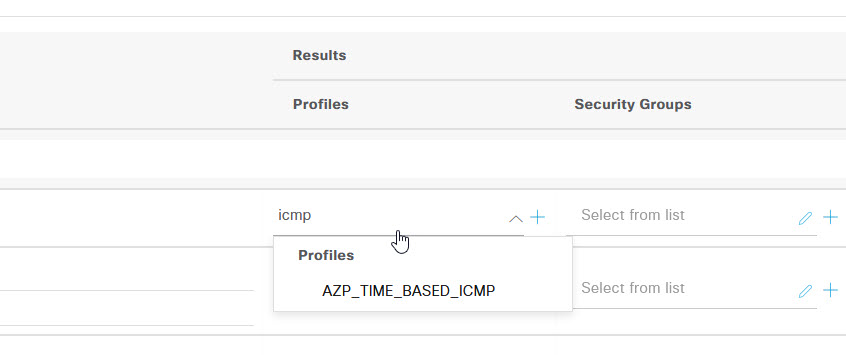
The next step is to apply the Authorization profile that we created. Under the Results, Profiles section, click on the pencil icon under Select from list and search for the profile that you created and select it to apply. Once done, scroll to the bottom and click Save.
And that's it. That's a simple way to configure and apply a time based authorisation rule in Cisco ISE. If you've noticed anything missing or have any issues with this post or just want to say Hi, please leave a comment.
Add new comment